I absolutely love making cheese boards. It’s my go-to when it comes to entertaining.
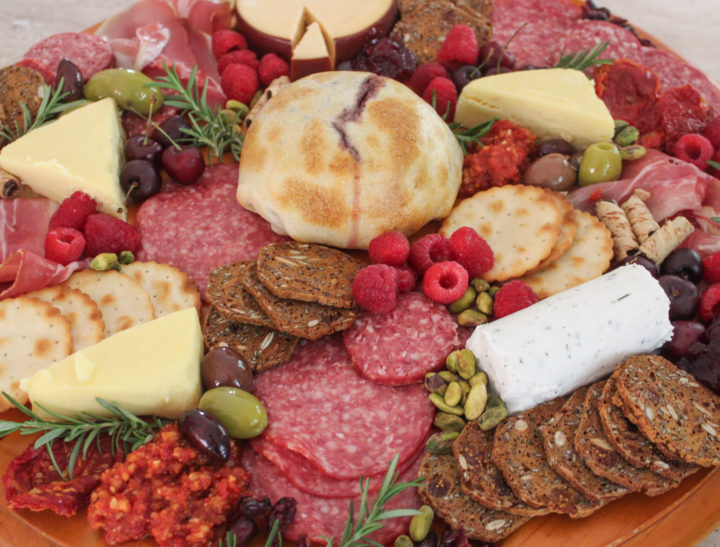
Over the years, with all the cheese boards I’ve made, I have developed almost somewhat of a recipe when it comes to making the perfect cheese board for just about any occasion. In today’s post, I’ll not only walk you through the steps on how I put together all cheese board, but show you how I specifically put together this festive, holiday cheese board, perfect for any holiday party you have this year.
Although putting together a cheese board may seem like a lot of effort, they’re actually quite easy to assemble.
The first thing I always like to do when putting together my cheese boards is think about my audience. Is the board for a game night? Is there any dietary requirements? A theme? Thinking about what the cheese board is for, really helps narrow down my shopping list and gives me a blueprint of what my board is going to look like.
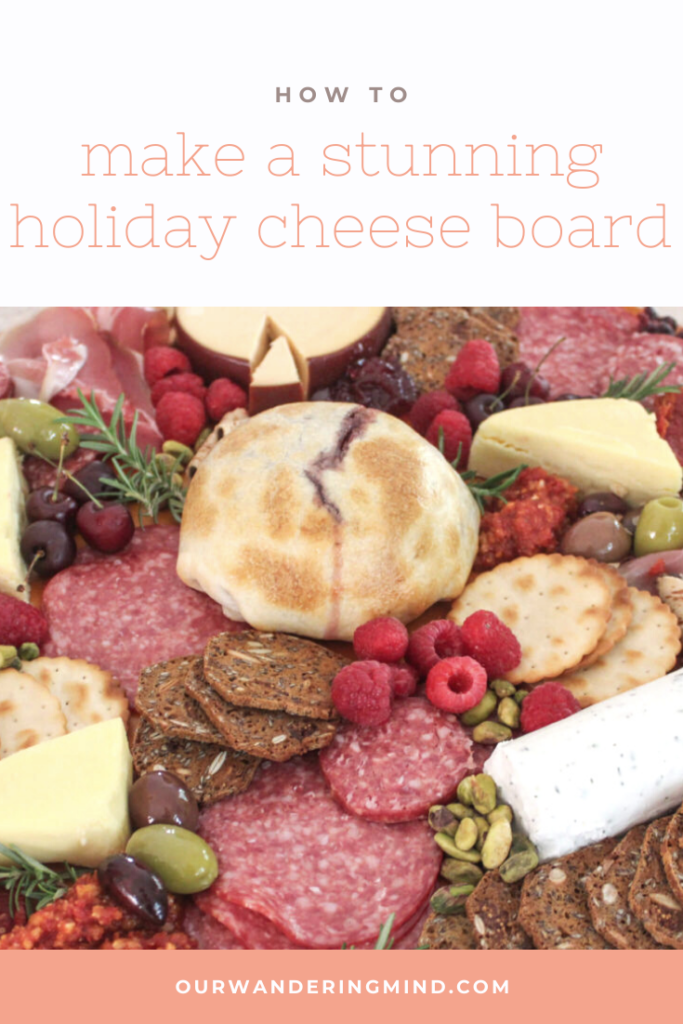
If I ever feel stuck on cheese board inspiration, Pinterest is always a fantastic option to get new ideas for platters and boards. 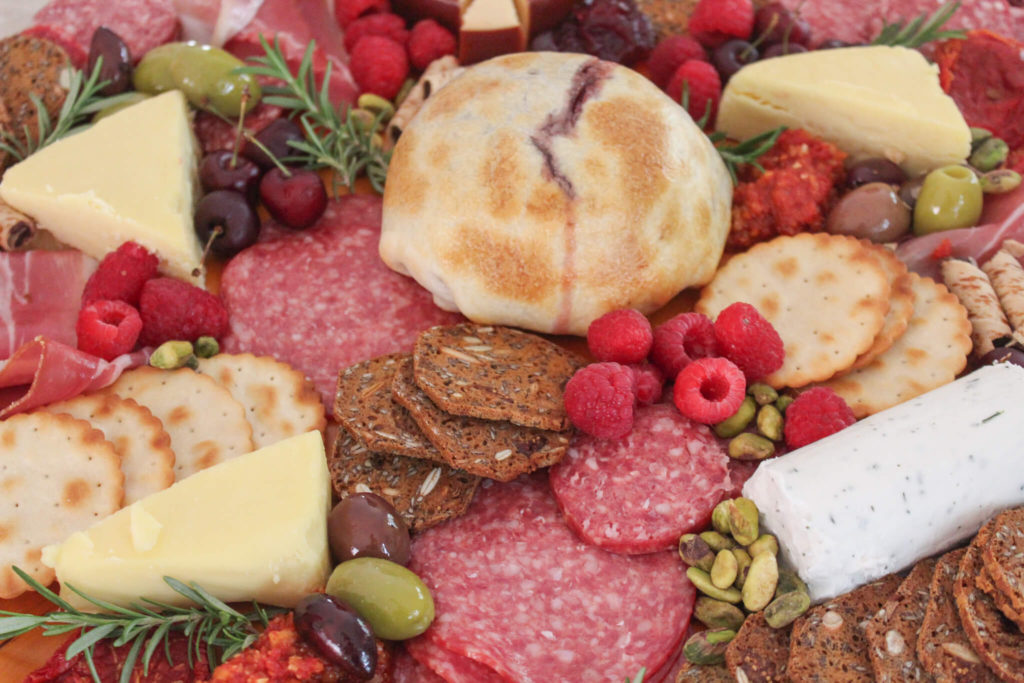
Once I have the general idea of what kind of cheese board I want to make, it’s time to make a shopping list. There may be specific ingredients for your specific board theme, but generally, I always include the following on all my cheese boards:
3-5 Different Types of Cheese (Combination of hard, soft, different shapes and flavors)
Meat (Prochutto & Salami are my go-to’s)
Nuts
Chocolate or Something Sweet
2 or More Different Types of Crackers
1-2 Dips
Fruit
Olives/ Artichokes or Pickled Items
Garnishes
When shopping for your board, you want to get a combination of different types of food that are not only delicious but also aesthetically pleasing.
When you have a variety of different options on your board, you’ll be guaranteed that there will be something for everyone.
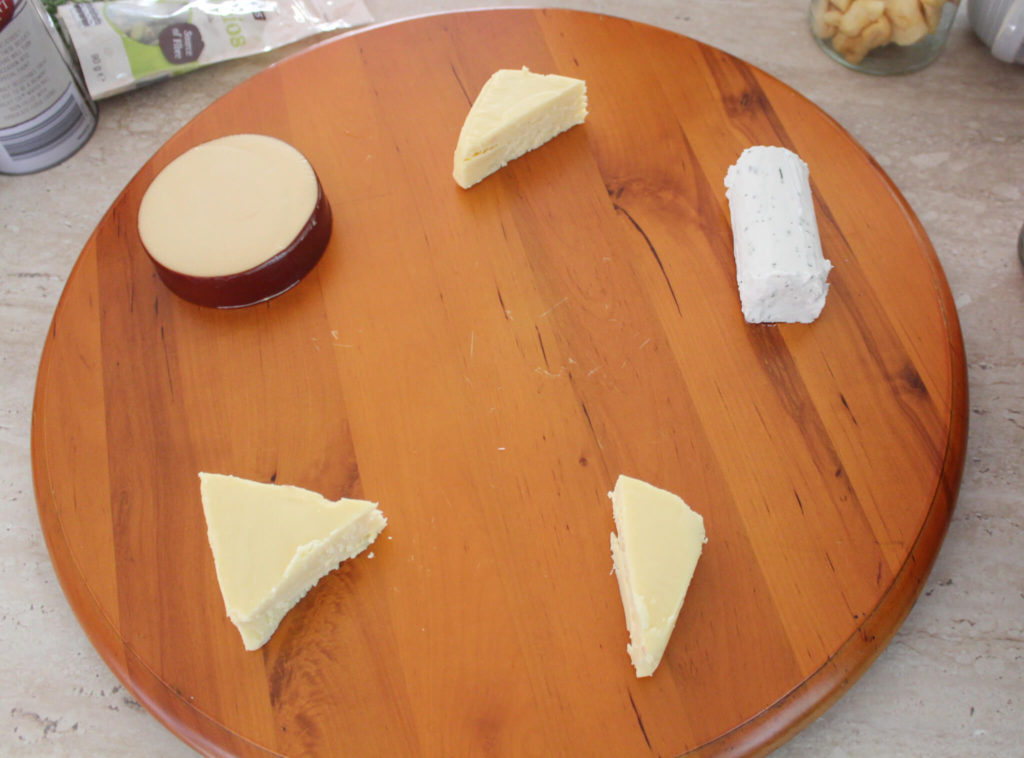
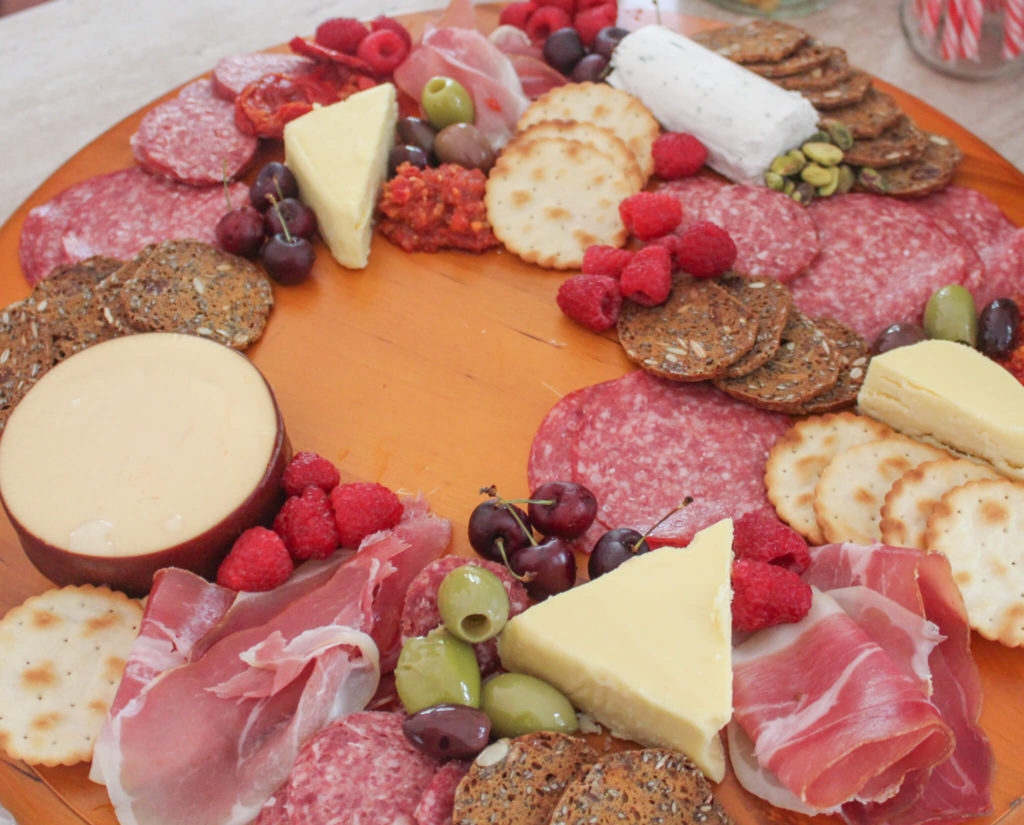
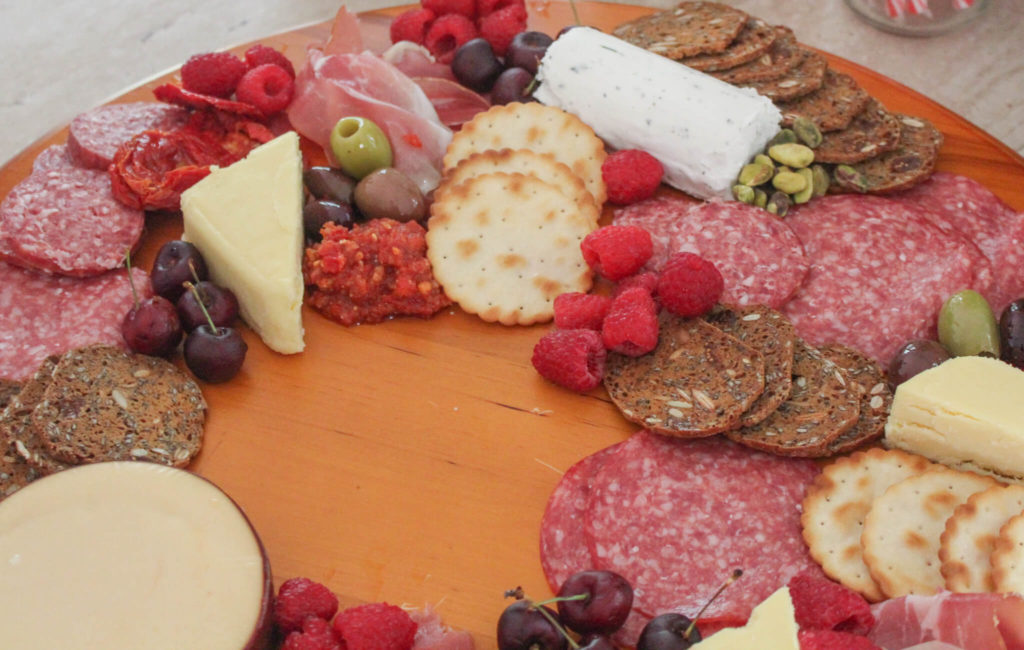
When starting to make my board, the first thing I like to do is lay out my cheese. The cheese is probably going to take up the most real estate on your board, so I find that it’s best to do this step first.
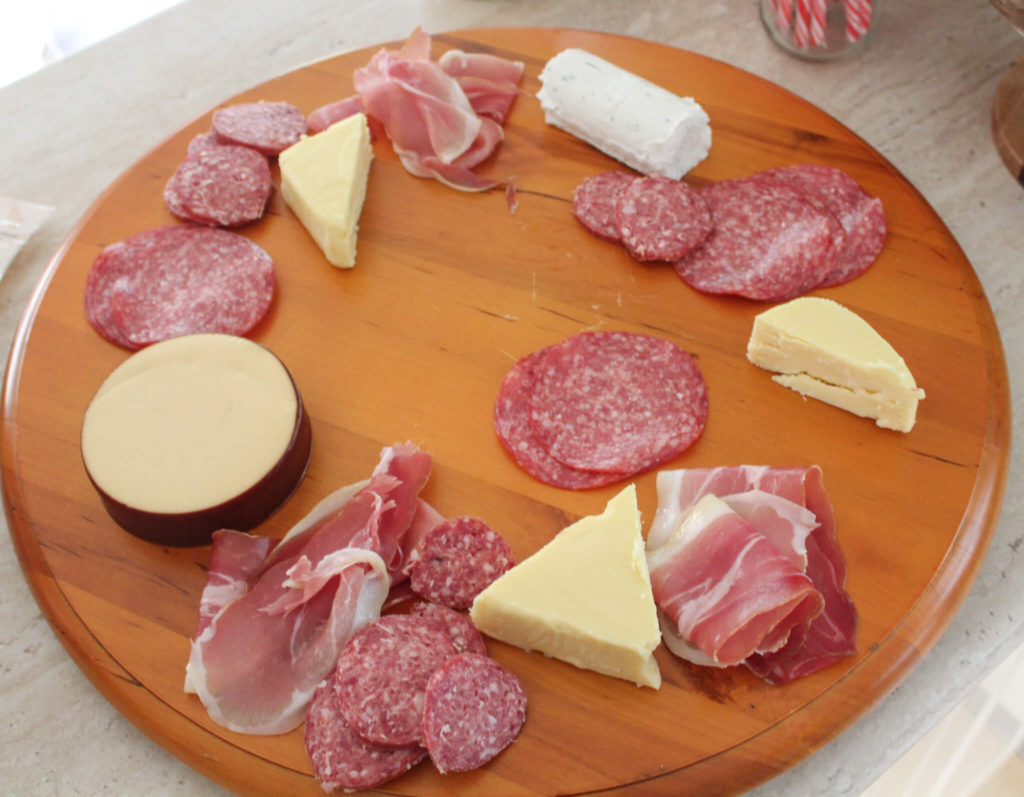
Following the cheese, the meat tends to take up the next bit of space. With the meat and just like everything else on the board, adding a little bit of everything, everywhere is the best way to make a delicious, full looking platter. This means that I will have the same type of salami on multiple places on my board instead of just in one area.
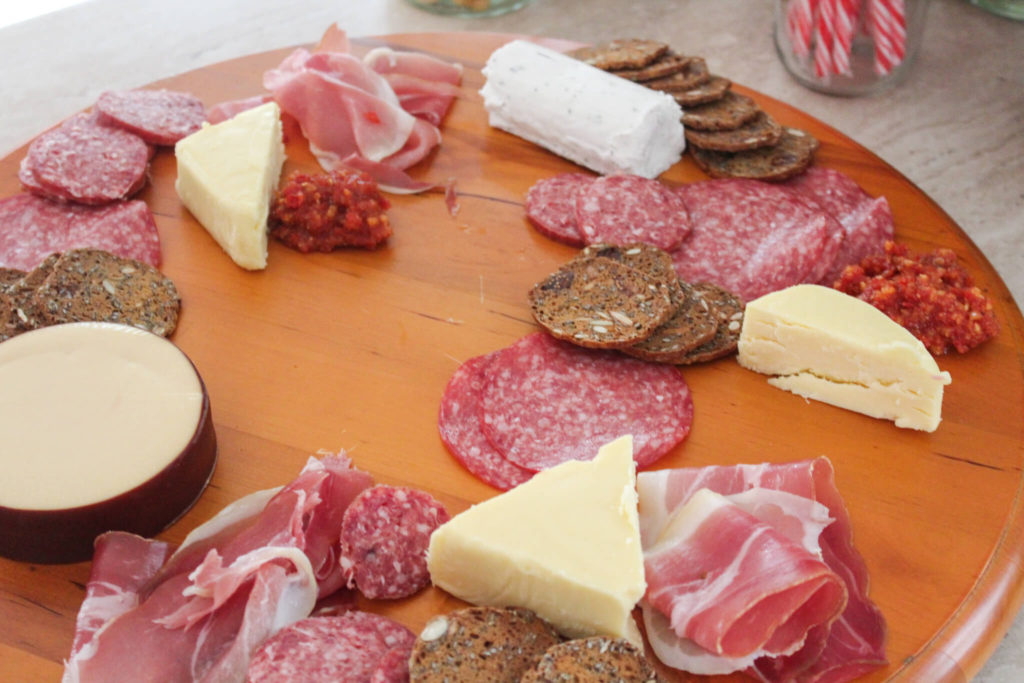
If you are having your dip in a container, this is where you’d also factor in where the container would be on your board. For this board, I just added chutney directly on the board so I didn’t need to factor in a container for this specific platter.
Following the meat, you can start adding the other ingredients. I tend to add other larger items like crackers and save all the fillers for last. This ensures that the larger items like the cheese, meat and crackers have plenty of space on the board and don’t look like an afterthought.
After the larger items are added, I start by adding all the fillers on the board. This includes the fruit, nuts, olives, and all other smaller items. Once again, I add a little bit of each item in multiple places around the board to fill up space.
I think a full platter is the best type of platter.
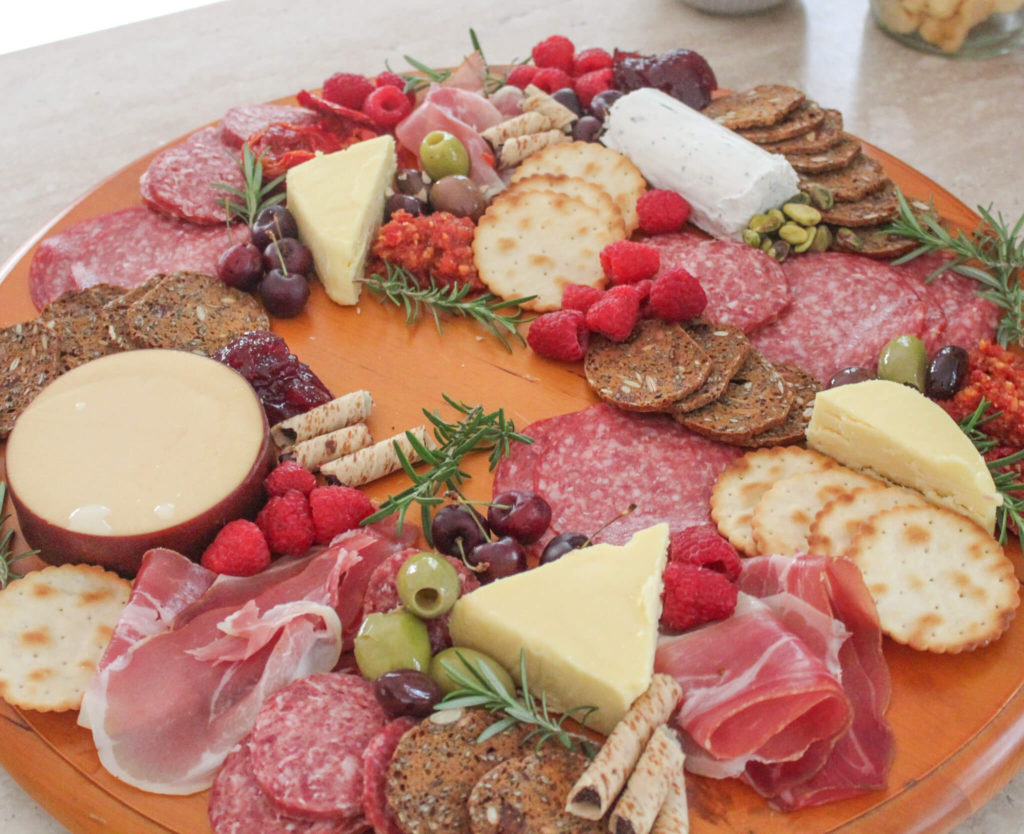
I personally like to make sure there is barely any free space on my platter. Once I have added all my ingredients to my board and I’m happy with the fullness of my platter, I like to always add some fresh herbs or garnishes to my board.
Rosemary is my go-to when it comes to platters, especially around the holidays. However, any fresh herb will do and will add that element of life and greenery to your board, which in my opinion, always takes your cheese board to the next level.
Mixing colors, textures, sizes and shapes is also a great way to put together an aesthetically pleasing board.
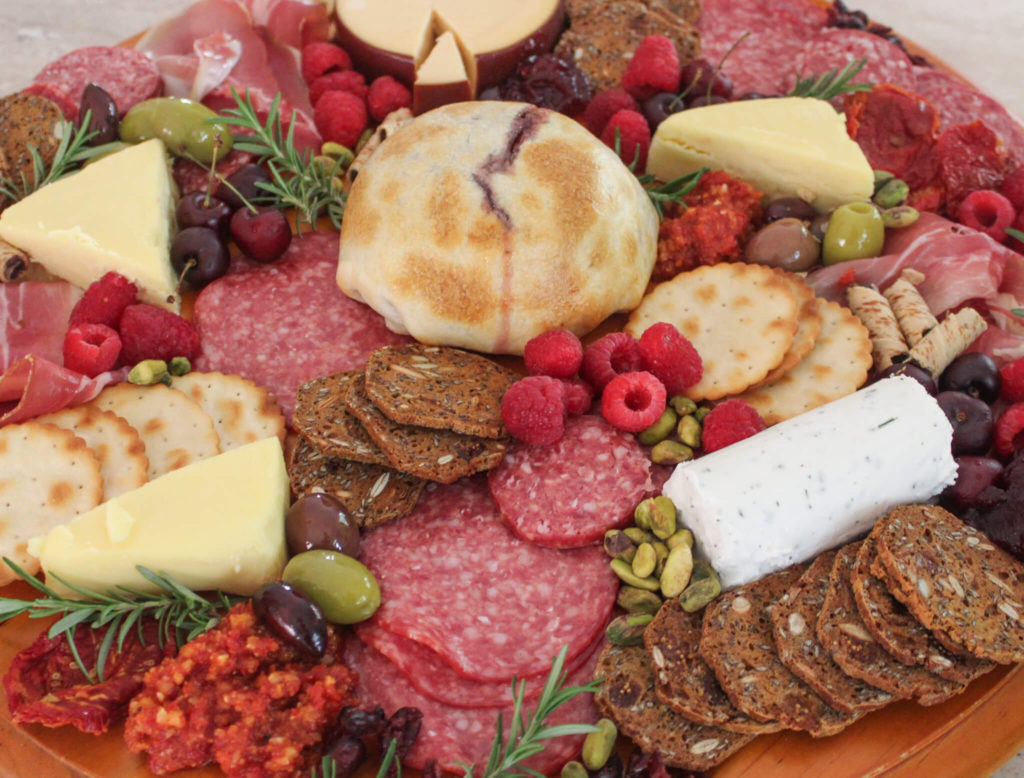
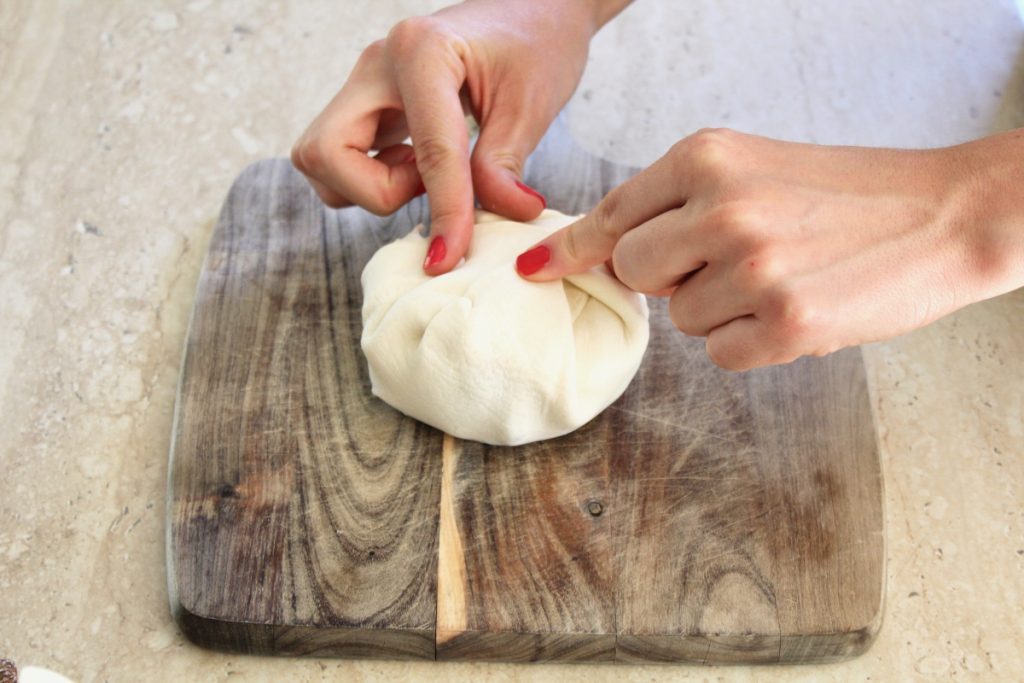
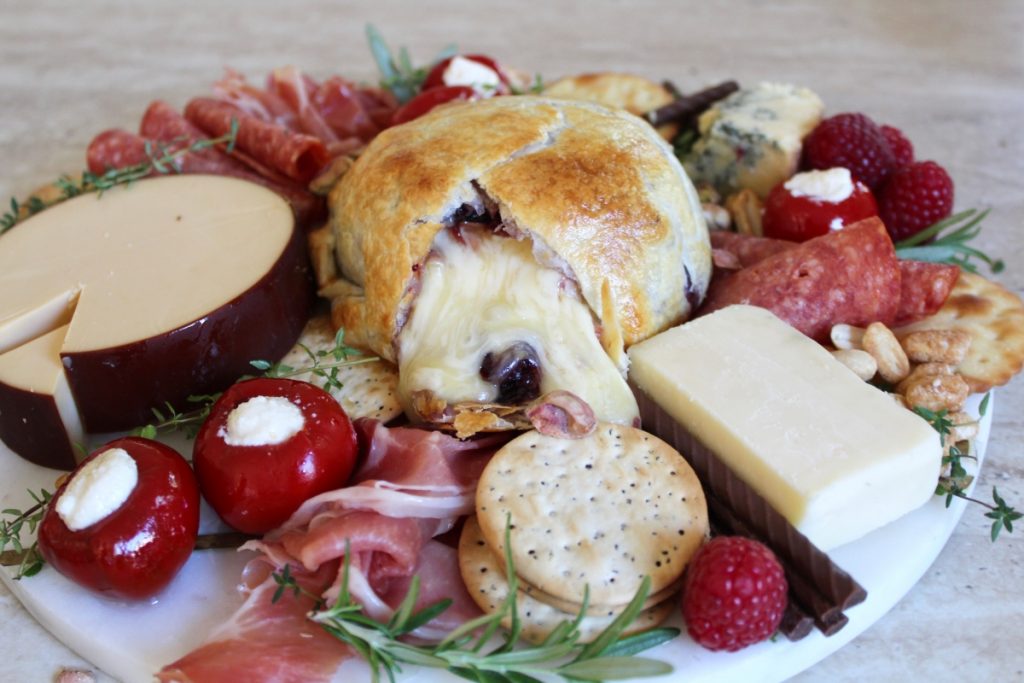
For this specifically board, I finished it off with my super easy and incredibly delicious Irresistible 3 Ingredient Puff Pastry Baked Brie. This Baked Brie is always a hit and it’s incredibly easy to make.
You can check out that tutorial on how to make my Cranberry Baked Brie by clicking here.
I hope you found this post helpful on how to make your very own delicious cheese platter. With following the steps above, you’ll be sure to make an absolutely stunning cheese platter for your next get together!
Let me know in the comments down below what your go-to snack is to bring to parties or to have our when people come over?

